What are we going to learn?
Today we will learn how we can create a new Java Project with Maven structure and using IntelliJ IDEA!
Steps
-
Open IntelliJ IDEA and click on Create New Project
-
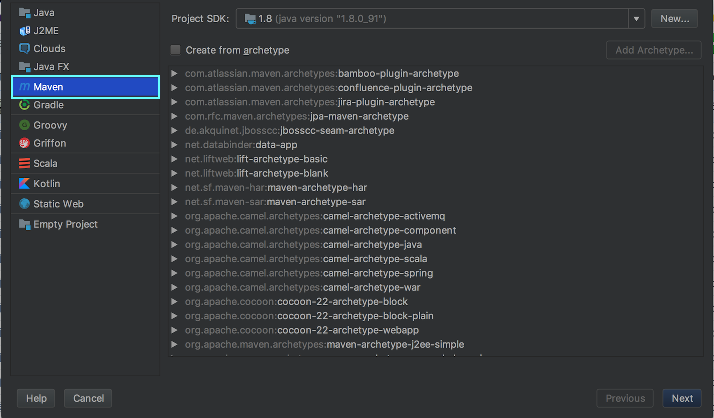
From the menu, select Maven
-
Click on Next
-
Enter GroupId, ArtifactId and the Version of the Snapshot (if you want to change it)
- This will be automatically set in your pom.xml file!
-
Click on Next
-
Enter the Project Name (By default the ArtifactId will be used)
-
Click on Finish
-
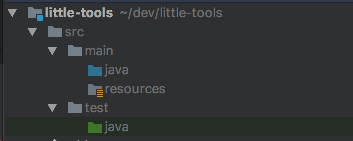
Notice that file structure of the Java Project is generated for you
-
Also notice that the
pom.xmlfile is generated. Here’s an example:
<?xml version="1.0" encoding="UTF-8"?>
<project xmlns="http://maven.apache.org/POM/4.0.0"
         xmlns:xsi="http://www.w3.org/2001/XMLSchema-instance"
         xsi:schemaLocation="http://maven.apache.org/POM/4.0.0 http://maven.apache.org/xsd/maven-4.0.0.xsd">
    <modelVersion>4.0.0</modelVersion>
    <groupId>com.mignonnesaurus.tools</groupId>
    <artifactId>mignonnesaurus-little-tools</artifactId>
    <version>1.0-SNAPSHOT</version>
</project>
- Cool huh! Keep having fun!